UVW Unwrapping in 3DS Max
01 In this lesson we will be focusing on creating a cardboard box with the texture unwrapped on its surface, ready for skinning with a basic bone setup. We will start by creating a single side of the Cardboard Box out of its four sides. Open up the ‘Unit Setup’ dialogue box from ‘Customize’ menu and select ‘Decimal Feet’.
02 Set the ‘Grid Spacing’ of the ‘Home Grid’ to ‘1.0’ feet from the ‘Grid and Snap Settings’ dialogue box which can be accessed from the right click menu of ‘Snaps Toggle’. Increase the ‘Perspective View Grid Extent’ to ’10’ in order to access 10 grid points on each side of the origin.
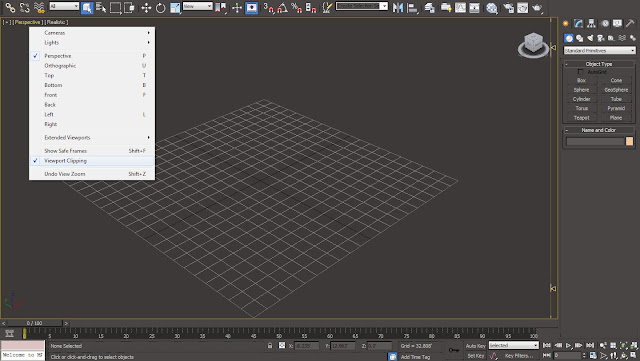
03 Make sure that we have enough ‘View-port Clipping’ in order to see the home grid properly. ‘View-port Clipping’ can be accessed through the right click menu of the ‘Perspective’ option available on the upper left hand corner of the view-port.
04 We will start modeling the side of Cardboard Box by creating a Box from the ‘Geometry’ panel with the dimensions of ‘3.0’ Feet * ‘3.0’ Feet * ‘3.0’ Feet. Also increase the Length, Width and Height Segments to ‘4’ each. Place it in the middle of the view-port.
05 Convert the ‘Box’ into a ‘Polygon’ by selecting ‘Convert to Editable Poly’ from its right click menu. Select and delete the complete three sides and half upper and lower sides of the box by selecting the polygons defining them.
06 Apply a ‘Shell’ modifier to the Box with the ‘Inner Amount’ value of ‘0.05’. Convert it back again into an ‘Editable Poly’ from the right click menu in order to collapse the modifier stack. Straighten up the polygons in order to flatten the corners of the Box by scaling down the distance between the Vertexes in the same line after selecting them.
07 Smooth-en up the edges of the Box by selecting the corner edges and splitting them into three from the ‘Chamfer’ tool. We can use the ‘Shift’ key in order to select the ‘Loop’ of edges and ‘Ctrl’ key in order to select another edge without disturbing the previous selection.
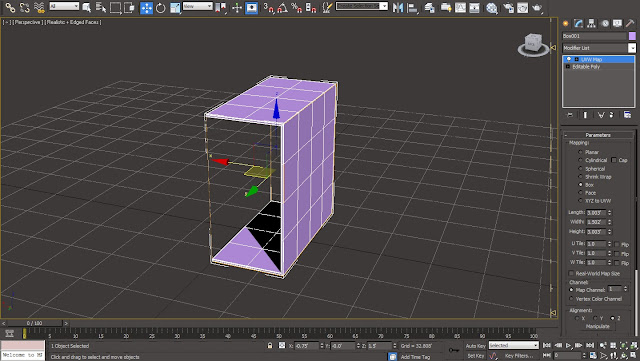
08 From the ‘Hierarchy’ Panel select ‘Center to Object’ after selecting ‘Affect Pivot Only’ option in order to bring the pivot point in the center of the object. Now apply the ‘UVW Map’ to the Box and select ‘Box’ as the ‘Mapping’ style.
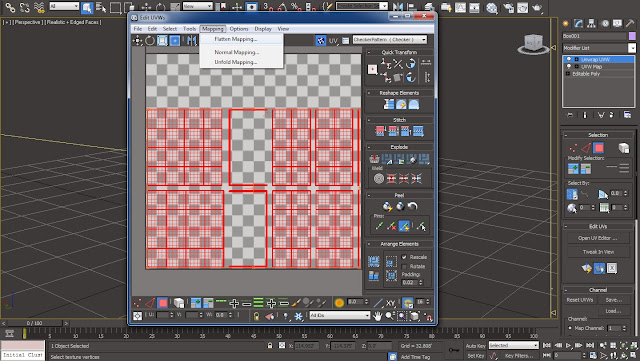
09 Now we are ready Unwrap the polygons in order to apply a texture onto it by applying ‘Unwrap UVW’ modifier. From its ‘Selection’ parameters, select Polygon and select all the polygons of the object by pressing ‘Ctrl+A’ from the view-port and hit ‘Open UV Editor’.
11 Now we will export this ‘Flat Map’ as a PNG Image for texture refinement in Photo-shop. Access the ‘Render UVW Template’ option from the ‘Tools’ menu. Set the mode to ‘Solid’ and hit ‘Render UV Template’. Select ‘Save Image’ option and save the ‘Render Map’ in the hard disc as a PNG file.
12 Open up the image inside Photo-shop and select the covered area by clicking the small thumbnail on the layer while pressing ‘Shift’ on the keyboard. Bring in the ‘Tiled Card Board Texture’ PNG file and delete the region outside the selection by first selecting it by pressing ‘Ctrl + Shift + I’ and then deleting it.
13 Modify the texture a bit by bringing in some elements in order to enhance the look of the box. We can improvise it with a logo of some company or text on the top. Also enhance it with the brown tape on the side of the flap defining the area of the closure. Save the texture as a JPF file.
14 Create a new standard material and apply the texture inside its Diffuse Map. Select the object in the view-port and apply it onto it by selecting ‘Assign Material to Selection’ from the right click menu. We might end up with the wrong placement of the texture on the box. Spend some time and play with the positioning of elements on the ‘Render Map’ in order to find the right position for them.
15 Create three different copies of the box and place them in way by which they will end up making four sides of the cardboard box. Select the sides parallel to each other and scale them up a bit in ‘Z’ axis in order to make them longer then the rest of the two sides.
16 We can also apply ‘Tessellate’ modifier in order to give some more segments to the side. ‘Edit Poly’ modifier will help in randomizing the surface through ‘Soft Selection’ process.
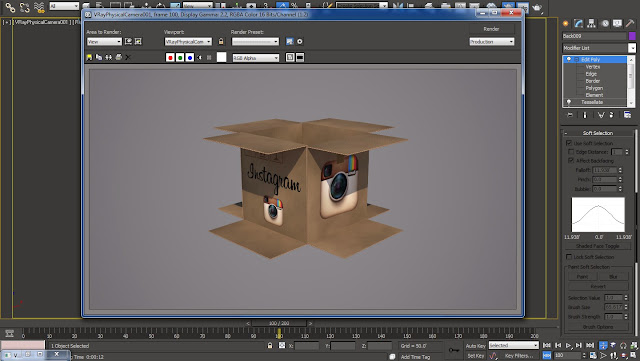
17 We can apply different materials to each side of the cardboard box in order to make them look a bit more realistic. After a bit of touch up our cardboard box is now ready for the skinning process.


